How-to
How to use a combi drill
Published
Note: This page contains affiliate links. If you buy through them we may earn a commission at no extra cost to you. Learn more
In short
Fit the bit and tighten the chuck firmly, choose the mode (drill, driver or hammer), set the gear to 1 for screws or 2 for small holes, set the clutch for screws, then start slowly on your mark with the drill square to the surface. Wear eye protection and check walls for cables and pipes before drilling.
Products for this job
Compare all 7 productsBosch GSB 18V-45: 920 g brushless kit for home jobs
Check price on AmazonAffiliate linkRyobi RPD18BL2: brushless ONE+ drill with 5 Ah and bit kit
Check price on AmazonAffiliate linkBosch GSB 12V-35: compact 12 V combi with two 3 Ah packs
Check price on AmazonAffiliate link
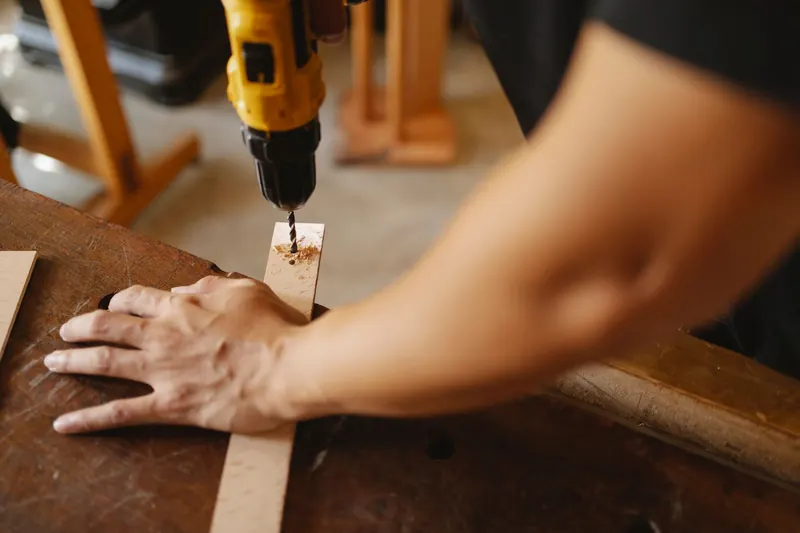
A combi drill is simple once you know what each control does. This guide walks you through setting one up and using it for the jobs most people need: drilling holes in wood and metal, drilling plug holes in brick, and driving screws without stripping them. It applies to most cordless brands; check your manual for model specific details.
Before you start
Charge the battery fully and check it clicks firmly into the drill. Read the manual's safety section. Gather eye protection, a dust mask for masonry, the right bits and a pencil. For walls, use a detector to check for cables and pipes, and avoid the areas directly above, below and to the side of sockets and switches.
- Wood: brad point or HSS twist bits.
- Metal: HSS twist bits, ideally cobalt for steel.
- Brick and block: masonry bits.
- Tiles: tile or glass bits, drill mode only.
- Screws: PZ2 or PH2 bits for most UK wood screws.
Fitting a bit
Turn the chuck sleeve anticlockwise to open the jaws. Insert the bit straight, as far as the shank allows, but not so far that the jaws grip the flutes. Turn the sleeve clockwise by hand until it clicks or feels firm. On ratcheting chucks, keep turning until you hear several clicks.
Run the drill briefly to check the bit spins true. A wobbling bit means it is off centre; reopen and refit it. See drill chuck slipping or bit wobbling if it keeps happening.
- 1
Remove the battery or lock the trigger.
- 2
Open the chuck jaws.
- 3
Insert the bit straight and centred.
- 4
Tighten the chuck firmly by hand.
- 5
Refit the battery and test spin.
Choosing mode, gear and clutch
Turn the collar to the drill symbol for wood and metal, a clutch number for screws, or the hammer symbol for masonry. Set the top slider to 1 for screws and large bits or 2 for small bits. The full explanation is in drill clutch and speed settings.
Drill
Bit spins. Wood, metal, plastic.
Driver
Clutch 1 to 20 slips at a set torque.
Hammer
Spin plus forward pulses. Brick, block.
Drilling a clean pilot hole in wood
Mark the centre with a pencil cross, then make a small dent with a bradawl so the bit does not wander. Start slowly with the drill square to the surface, then speed up. Ease off as the bit breaks through to reduce splintering, or clamp a scrap block behind the work.
A pilot hole slightly smaller than the screw's core stops hardwood and board ends from splitting. Use a depth stop or a piece of tape on the bit for consistent depth.
- 1
Mark and dent the centre.
- 2
Set drill mode, gear 2 for small bits.
- 3
Hold the drill square and start slowly.
- 4
Increase speed once the bit bites.
- 5
Ease off as you break through.
Drilling a plug hole in brick
Fit a masonry bit the same size as the plug, usually printed on the packet. Select hammer mode and gear 2. Start without hammer if the surface is tiled or painted, then switch to hammer once into the masonry. Push firmly and steadily, pulling the bit out now and then to clear dust.
More detail on masonry is in how to drill into brick and concrete, and plug sizes are in which drill bit for wall plugs.
Driving screws
Fit the correct bit for the screw head: Pozidriv (PZ) for most UK wood screws, Phillips (PH) for plasterboard screws. Set driver mode, gear 1 and a low clutch number. Press firmly in line with the screw so the bit does not cam out, and drive with a steady trigger. If the clutch slips before the screw is flush, turn the clutch up one or two numbers.
Looking after the drill
Wipe dust off after masonry work, keep vents clear, and store batteries indoors at room temperature. Let the drill cool if it gets hot. Replace blunt bits rather than forcing them, which strains the motor and battery.
If you are still choosing a drill, our home use guide compares light kits with batteries.
Note:Wear eye protection, tie back long hair, and avoid loose sleeves and gloves near the chuck. Use the side handle on powerful drills. Follow the manual and HSE guidance.
Frequently asked questions
Which way does a drill turn to undo screws? Push the direction switch above the trigger to the opposite side to reverse. Most drills lock the trigger with the switch in the middle.
Why does my bit slip in the chuck? The chuck is not tight enough or the shank is worn. Tighten firmly, and in hammer mode use bits with flats or hex shanks where possible.
Do I need hammer mode for plasterboard? No. Use drill mode for plasterboard. Hammer mode will break up the board.
How hard should I push? Firmly enough to keep the bit cutting, not so hard that the drill slows. For masonry, steady pressure in line with the bit.
What you need
- Check price on AmazonAffiliate link
Bosch GSB 18V-45: 920 g brushless kit for home jobs
- Check price on AmazonAffiliate link
DeWalt DCD996P2: 95 Nm, three speeds, two 5 Ah packs
- Check price on AmazonAffiliate link
DeWalt DCD805NT: compact 18 V XR, 90 Nm, bare unit