Guide
Drill clutch and speed settings explained
Published
Note: This page contains affiliate links. If you buy through them we may earn a commission at no extra cost to you. Learn more
In short
The numbered clutch ring sets how much torque reaches the screw before the clutch slips: low numbers for small screws, higher numbers for bigger ones. The 1 and 2 switch is the gearbox: 1 is slow and strong for screws and large bits, 2 is fast for small holes. Start low on both and step up until the job goes smoothly.
Products for this job
Compare all 7 productsBosch GSB 18V-45: 920 g brushless kit for home jobs
Check price on AmazonAffiliate linkRyobi RPD18BL2: brushless ONE+ drill with 5 Ah and bit kit
Check price on AmazonAffiliate linkBosch GSB 12V-35: compact 12 V combi with two 3 Ah packs
Check price on AmazonAffiliate link
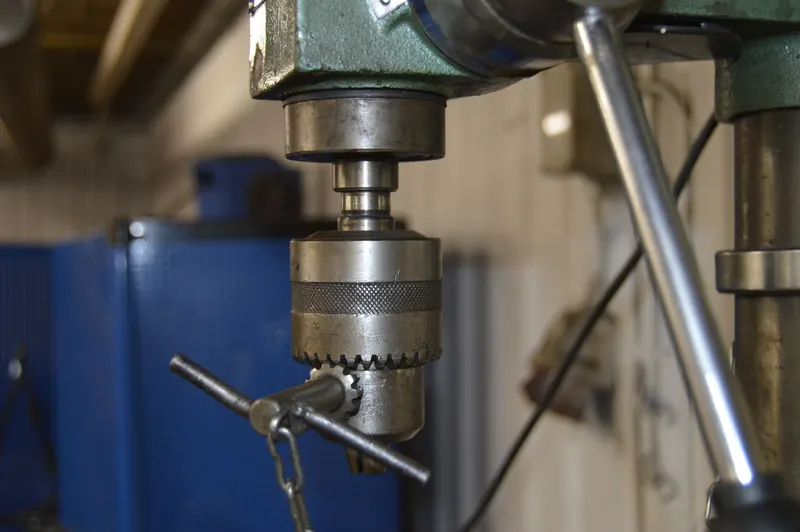
Most cordless drills have two controls that confuse new users: a ring of numbers behind the chuck and a slider on top marked 1 and 2. Get them right and screws sit flush, bits last longer and the drill is easier to control. Get them wrong and you strip screw heads, snap small bits or twist your wrist. This article explains both, with starting settings for common jobs.
What the clutch ring does
The clutch ring sets a torque limit for driving screws. Inside, spring loaded balls or plates hold the drive together until the resistance reaches the set level, then slip with a ratcheting sound. Number 1 slips very early; the highest number slips only under heavy load. Turn past the last number to the drill symbol and the clutch is locked out for full torque.
The clutch only works in screw driving mode. In drill and hammer modes it is bypassed, which is why you should not drive screws in drill mode unless you are very careful with the trigger.
Drill
Bit spins. Wood, metal, plastic.
Driver
Clutch 1 to 20 slips at a set torque.
Hammer
Spin plus forward pulses. Brick, block.
What the 1 and 2 switch does
The slider on top selects the gearbox ratio. Gear 1 gives low speed and high torque, ideal for driving screws, large hole saws, flat bits and augers, and mixing paddles. Gear 2 gives high speed and lower torque, ideal for small twist bits in wood and metal and masonry bits in hammer mode. Some drills have a third, faster gear.
Only change gear when the chuck has stopped. Changing under load can damage the gearbox.
Starting settings for common jobs
Use these as starting points and adjust. Clutch numbers vary between drills, so a 5 on one drill is not the same as a 5 on another.
| Job | Mode | Gear | Clutch |
|---|---|---|---|
| Small screws into softwood or hinges | Driver | 1 | Low, 3 to 6 |
| Flat-pack cam screws | Driver | 1 | Low, 2 to 5 |
| 50 to 75 mm wood screws | Driver | 1 | Mid, 8 to 14 |
| Pilot holes in wood, 2 to 4 mm | Drill | 2 | Not used |
| Hole saw 50 mm and up | Drill | 1 | Not used |
| Steel, 6 mm HSS bit | Drill | 1 or 2, slow trigger | Not used |
| Plug hole in brick, 6 mm | Hammer | 2 | Not used |
Finding the right clutch number
Start two or three numbers lower than you think you need. Drive a test screw. If the clutch slips before the head is flush, turn up one or two numbers and finish the screw. When a setting drives screws flush without going deeper, leave it there for the rest of that job.
This avoids the commonest home mistakes: screws driven through thin material, stripped heads and split timber near board ends.
- 1
Set the collar to driver mode and the gear to 1.
- 2
Set the clutch low, around 4 to 6.
- 3
Drive a test screw with a steady trigger.
- 4
If it stops short, increase the clutch one or two numbers.
- 5
Repeat until the screw sits flush, then keep that setting.
Makita, DeWalt and Bosch differences
Most brands follow the same layout. Makita drills typically show around 16 to 21 clutch settings plus drill, DeWalt around 11 to 15 plus drill and hammer, and Bosch Professional drills mark the collar with screw, drill and hammer icons. Some Bosch and Milwaukee drills also have electronic clutch or app settings. Check your manual for the exact layout.
If your drill has three speeds, gear 1 and 2 behave as above and gear 3 is for small bits at high speed.
Trigger control matters too
The variable speed trigger is the third control. Start slowly so the bit or screw does not walk, then increase speed. Release smoothly as the screw seats. For metal, use slow, steady speed with light cutting oil to avoid overheating the bit.
Many drills have an electric brake that stops the chuck when you release the trigger, which helps on repeated screws.
When to use an impact driver instead
If you are driving lots of long screws or coach bolts, the drill's clutch may slip before the screw is home, even at the highest setting. That is a sign to use the drill symbol carefully, or better, an impact driver. See combi drill vs impact driver and our impact driver guide.
Note:Hold the drill firmly with both hands for large bits and high torque settings, as the drill can twist if a bit jams. Wear eye protection and follow the manual.
Frequently asked questions
Should my drill be on 1 or 2? Use 1 for screws and large bits, 2 for small drill bits and masonry. When in doubt, start in 1.
Why does my drill keep clicking? That is the clutch slipping. Turn the ring to a higher number, or to drill mode for drilling holes.
What clutch setting for plasterboard screws? Start low, around 4 to 7, and adjust so the head sits just below the paper without tearing it. A dedicated drywall screwdriver is faster for big jobs.
Does the clutch work in hammer mode? No. The clutch only works in driver mode.
What you need
- Check price on AmazonAffiliate link
Bosch GSB 18V-45: 920 g brushless kit for home jobs
- Check price on AmazonAffiliate link
DeWalt DCD996P2: 95 Nm, three speeds, two 5 Ah packs
- Check price on AmazonAffiliate link
DeWalt DCD805NT: compact 18 V XR, 90 Nm, bare unit